Monday, December 5, 2011

Day 25:Decorated Cookies...Finally

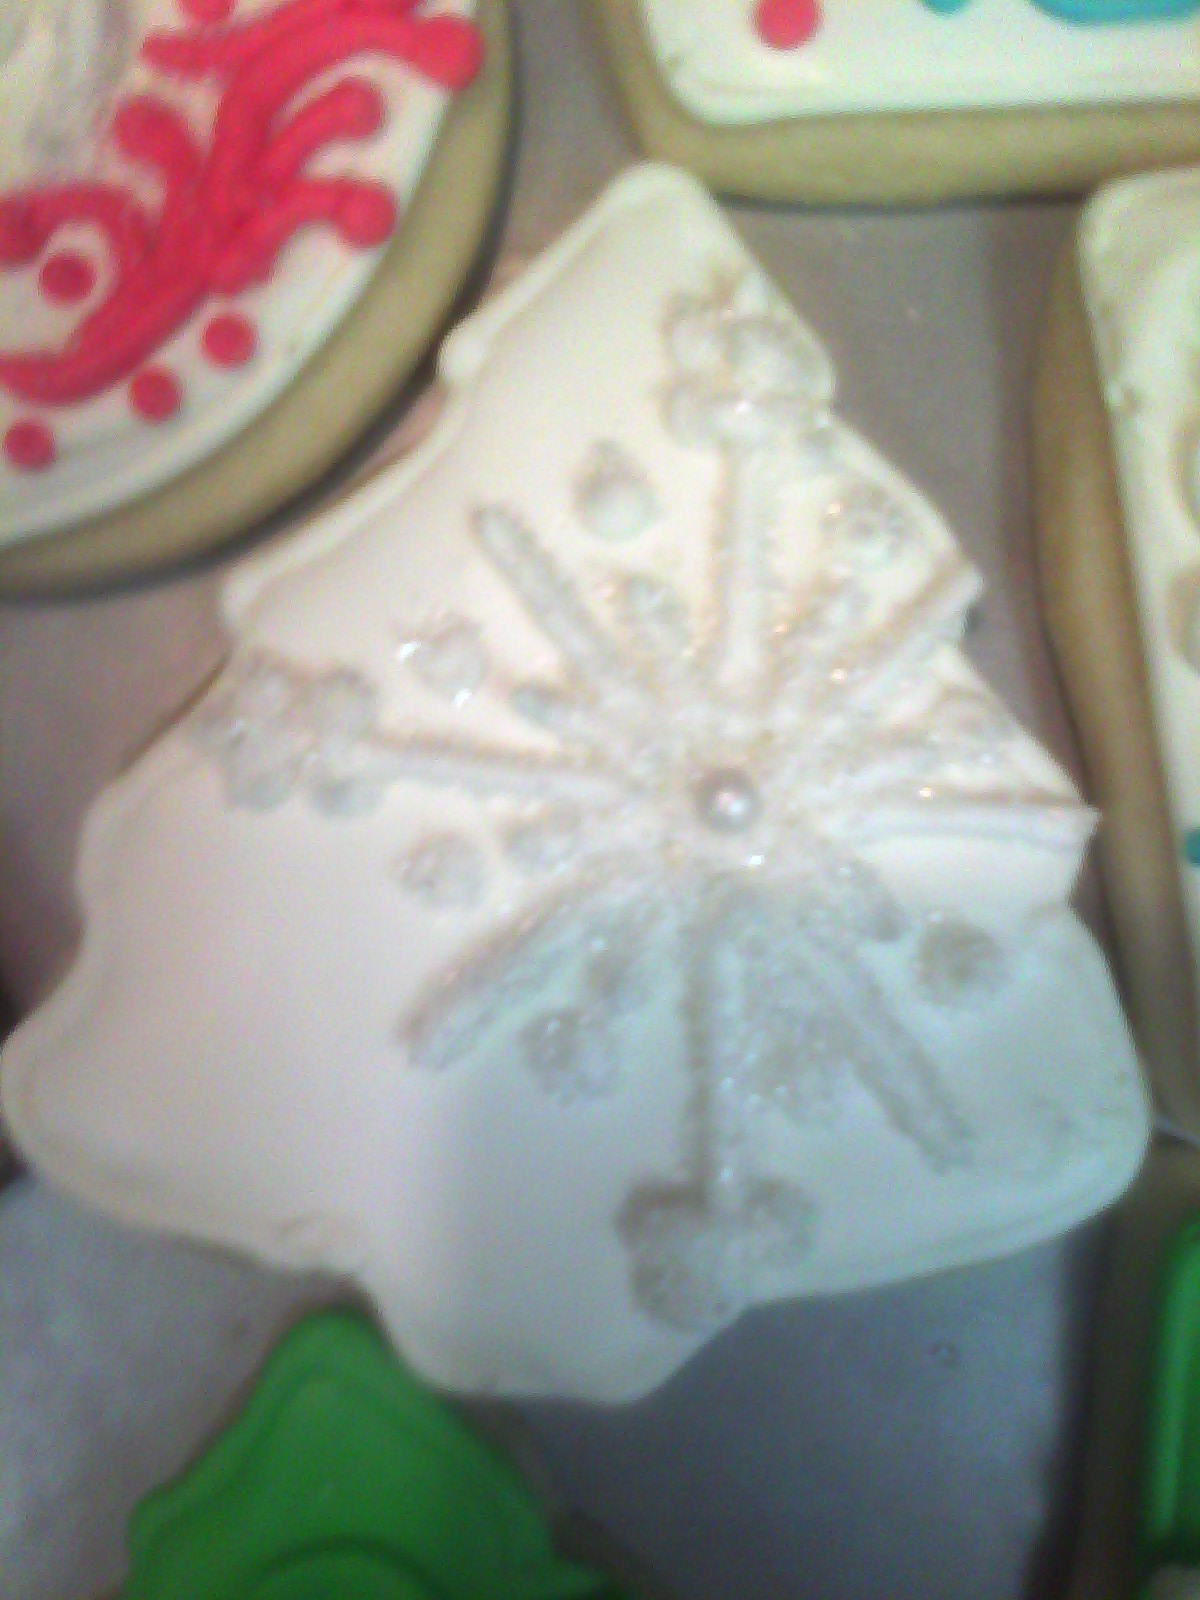
This is my favorite part of making cookies...decorating them!! Over the past years I have to admit I have made some beautiful cookies. The challenge is always finding an icing recipe that looks good but still tastes good. Royal Icing is always the "go to" and great for gingerbread houses, but not so great for actually eating the cookies. Buttercream tastes great but doesn't set spread evenly or give a nice sheen and smoothness.
Last year I used a delicious cookie glaze made with powdered sugar, milk, vanilla and corn syrup. It sets up great, spreads well and best of all, it tastes really good. Unfortunately, you can't get a lot of detail with it and it's not great when you want multiple colors on one cookie. Tonight was my first time using Color Flow. Easy to make, easy to use. We'll have to just wait to see how it tastes.

Day 24: Cream Cheese Pretzels

After playing in chocolate all day with yesterday's Hot Cocoa cookies, today I felt the need for something a little lighter and now that is officially Christmas time, something that looks, well...Christmasy. Orange Cream Cheese Cookies sounded perfect. This is actually called a "molding dough", meaning it is perfect for shaping or cut outs since the dough does not spread at all. Not a fan of orange? You can use any flavor you prefer. This is also a great cookie to make with kids, real easy and fun to mold. I chose to do pretzel shapes because I thought they would be cute and I am just not feeling very creative at the moment.
Put your electric mixer away for this one and break out the wooden spoon:
  • 3 oz. cream cheese, softened
  • 1/2 c butter, softened
  • 1/2 c firmly packed brown sugar
  • 1/2 t salt
  • 1 t vanilla or orange extract, or whatever you would like
Combine all ingredients in large bowl. Stir by hand until well blended. Add:
  • 1 2/3 c all-purpose flour
Stir until dough forms a ball. Knead dough on floured surface, about a minute or two, until dough is smooth and pliable and not sticky. Roll, shape , mold....whatever.
Bake at 350 until edges are light brown 10-15 minutes or 15-22 minutes for thicker cookies.

For sparkling pretzels:
Pour colored sugar onto waxed paper. Roll about a tablespoon of dough into a 4" rope between your hands. Finish rolling rope on colored sugar until about 10" and shape into pretzels.

Sunday, December 4, 2011

Day 23: Hot Cocoa Cookies

There are a few things you must have before making these Hot Cocoa Cookies.
1. A chilly evening in the forecast.
2. A quiet evening in that same forecast
3. A roaring fire
4. Some Peppermint Mocha Coffee
or and it also doesn't hurt if you have a fine chocolatier sponsoring you.

This is another one of Rachael Ray's Holiday Cookie Recipes, but beware, they are a little costly to make. the recipe calls for 7 bars of semi sweet chocolate. 7 bars!!! I have been putting off making these just for that reason. But this morning at the grocery store, Ghiradelli 4 oz. semi sweet bars were on sale for 2 for $5.00. I bought two, convincing myself I read the recipe wrong and maybe it actually was only calling for 7 oz. No such luck. But then I read the recipe a little more carefully and I noticed that the first 12oz. of chocolate used is chopped and melted with butter. Hmmm....12 oz of chopped chocolate. Have you ever noticed the weight on a bag of chocolate chips? Yep, 12oz. Rachael was trying to tell me something! The chocolate chips (Safeway brand even) worked great, but I did use the good chocolate in the rest of the recipe.
The dough for this cookie looks more like a brownie batter. I thought for sure I would be ending my relationship with Rachael after this and I just could not handle another failure after yesterday's Butterscotch Blondie Blowup. However, after chilling the dough/batter for at least 30 minutes as directed it magical firms into a dough that can be rolled into a ball. From there is was smooth sailing and cookies are absolutley delicious!

Saturday, December 3, 2011

Day 22: Fail!!!!

Seriously, do recipe publishers even test the recipes they print??? I should know better by now though. When a recipe calls for a lot of butter and brown sugar, not white, and not a lot of flour, something is wrong. Very wrong. Shame on me.
I loved this recipe for Butterscotch Blondies going in. So simple, I was so prepared to brag about it. What a simple quick "go to" dessert it could have been. I imagined them with ice cream or maybe dallops of chocolate ganache. My kitchen filled with the aroma of butterscotch, my heart filled with anticipation, my mind raced with all the wonderful things I would blog about these blondies.
Only to open my open door to this....
My heart now broken and infuriated! What a waste of time, butter and sugar!! Sadly I do not have time for a replacement cookie for Day 22 because happily we are heading to Imbibe tonight. After all, this is nothing a few glasses of wine can't fix right?

Friday, December 2, 2011

Day 21: Peppermint Meringues Cups with Ganache

I think I am the only one who truly loves, loves, loves meringues. So light, so tasty and so pretty. That is why despite my better judgement I tried this recipe for Peppermint Meringues with Chocolate Ganache from none other than Martha Stewart! Ack! What was I thinking! Okay, it wasn't that bad, but I will fill you in on some of the things Miss Martha won't tell you. So go ahead and click the link above and read this recipe.
All done?
First of all, this is not a recipe for the novice. There is serious baking equipment you must have, not should have, but must have. Years ago when I first started baking cakes you would have to order a lot of the speciality decorating items. Now you can find just about anything and everything you need at Michael's, Target, Walmart, even Fresh and Easy has started carrying Wilton items.
Second, read and follow all the tips I posted yesterday. Have your equipment ready! I did not, and found I was out of large pastry bags. I had to use parchment triangles, several of them. You really need a good quality, large pastry bag for this recipe.
Third, the first few squeezes of the meringue will not have the stripes you painted. Slowly squeeze this back into the bowl until you just start to see a dash of red coming through your pastry tip.
Fourth and oh so important.... when mixing the egg whites with the sugar over the simmering water be careful the bowl is not too warm when you add the egg whites, better still add the sugar first then the egg whites. And begin stirring immediately and constantly. Otherwise you will have very sweet poached egg whites.
I've gotten out of order so here are just a few more tips: don't worry too much about painting your lines straight, it won't matter when you begin piping; use superfine sugar instead of granulated but beware, it will dissolve faster; the top of a bottle of non-perils or sprinkles is about 1-3/4 inches.
And that is just the meringues!!
Now on to the ganache, well I won't even attempt to give any tips on ganache. Maybe my mother, an amazing baker and cook, will be so kind as to post some of her tips for ganache in the comments below. (Also I can make sure she is reading this blog-hehe). I never seem to do it just right, I just know it is never quite as simple as it sounds.
As I write this the meringues are in the oven and the ganache is chillin in the fridge. this takes about an hour and a half! So I will stop here and update this with pictures when they are all done. I can tell you though, only about 5 of the meringues look like Martha's.
Oh and real quick- I was so happy to hear the teachers at Norris Middle School enjoyed the cookies today!
Update:::::::
It's almost 5am and the ganache is set!!! The cookies are finally finished...
Another update:
Sadly these do not taste all that amazing...certainly not for the amount of work and how good they look. The meringue and ganache just do not seem to go together all that well. At 1/4 teaspoon, the peppermint is still a little too much. And the cookies are more chewy than crisp, not wet mind you, so I know I baked them long enough, just kind of chewy. Maybe next time I will skip the sugar dissolving step.

Thursday, December 1, 2011

Day 20: A Great Cookie Day Thanks to Rachael Ray

Yes! Rachael comes through again-oh, didn't you know, we are on a first name basis now. The foundation of trust between has been built, a mutual respect if you will. Okay so it's not mutual, she has no idea who I am after all.
I have been dying to make this Coconut Snowflakes since I bought the magazine last month. Not only do the cookies feature two things I love, coconut and lemon, but I also just happen to have this particular snowflake cookie cutter. Warning: Rachael does say offer a substitute cookie cutter, use your imagination. Another warning: she says to bake these for 20 minutes. Do yourself a favor and check them after 12 minutes. At 18 minutes I burned a pan, and nearly destroyed my relationship with Rach.
When spreading the filling on the cookie I say go for it! One measly teaspoon just doesn't seem to be enough. I also got a little creative and opted to not line the two cookies up exactly when sandwiching them. I know, I am a wild woman.
My husband thought that the two cookies sandwiched together were a little dry. Since I still have half the dough to bake I may try not sandwiching them and sprinkling the coconut right on top of the filling. Once again...crazy, wild, I know.

How About A Few Tips

As I am waiting for today's cookie to properly chill, I thought of a few baking tips to pass along. For you professionals: go ahead and roll your eyes and skip this post. For everyone else, pay attention! Every tip comes from a mistake I have made in one way or another.
  1. Establish a "No Cleaning No Eating Rule". If your loved ones are not willing to help clean up after you bake they do not partake. (This also includes running to the store for a missing ingredient)
  2. Read the recipe through before starting. Know what you need and how much, what tools, etc. Locate your tools. Because of my Rule #1 (above) my baking tools are sometimes found in the cupboard where we keep our glassware, with the pots and pans, in the kid's bedroom...
  3. Own a stand mixer, preferably a Kitchen Aid.
  4. Follow the recipe exactly. Unless it is a Martha Stewart recipe, then just do whatever you want. There is no way what you make is going to in any way resemble what she made.
  5. Own a lot of bowls. Big, small, finger, cereal...whatever, you will need them (see tip #6).
  6. "Weigh out" your ingredients before you start. It's actually fun, you get to pretend like you are hosting your own little cooking segment, or maybe that's just me. Measure everything you will need into an appropriate sized bowl to have at your fingertips.
  7. Pre heat your oven accordingly. Seems simple enough, I usually don't. But you should.
  8. Buy parchment paper and use it every time you bake cookies.
  9. Beat the hell out of the cream and sugar. But stir, with a wooden spoon, in your dry mixture. And stop stirring as soon as it is mixed. Over mixing is the leading cause of tough cookie syndrome.
  10. Do not over bake. The way your cookies look when they come out of the oven is not the way they need to look cooled. They should just be baked enough to set. They will bake a little more when you take them out. This is why most recipes say to cool them on the pan for a few minutes. If you do over bake them though, get them off the pan as soon as possible.
  11. Chilled dough almost always works best.
  12. Use good ingredients. That box of baking soda that has been in the back of your fridge for 6 months is not an example of a "good ingredient".
I'm sure there are plenty I have not mentioned, but it's almost time to bake.  Please feel free to post your favorite baking tip as a comment too.